Use the built-in console to send real API requests and explore live responses.
You can test Atono’s public API directly from this documentation. Each endpoint includes a console where you can send requests, fill in parameters, and view live responses—all without setting up an external client.
What the console does
The built-in console is a quick way to:
- Try out requests using real data from your Atono workspace
- Preview responses and error messages
- See how fields and parameters work before writing any code
It’s useful for exploration, debugging, or learning how specific endpoints behave.
Authentication
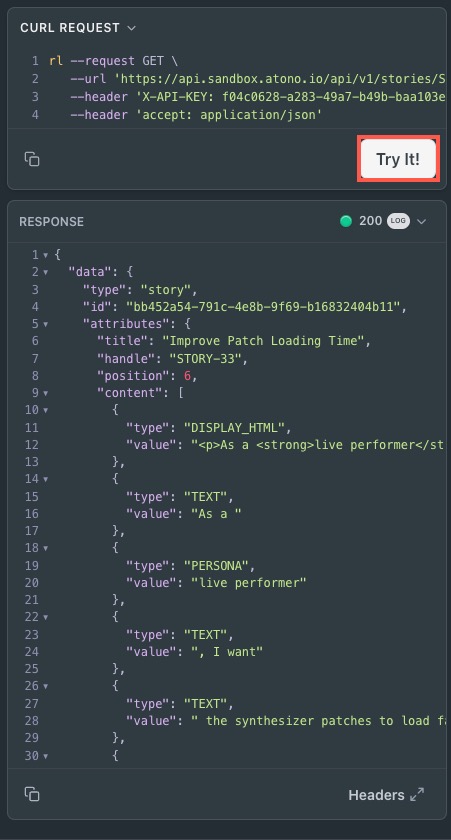
Before using the Try It! console, you'll need to create an API key.
When enter your key in the console, it's added to each request using the X-API-KEY header. This lets you run authenticated requests without writing any code.
How to use the console
You're working with live dataRequests made through the console interact directly with your Atono workspace. This includes creating, updating, or deleting records—just like using the Atono web app.
If you’re testing or exploring, use sample data to avoid disrupting active work.
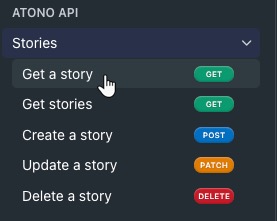
- Choose an endpoint: In the left sidebar, click an endpoint you'd like to test—such as
Get storiesorCreate a bug.
- Authenticate: In the right side panel, under CREDENTIALS, paste your API key into the Header field.

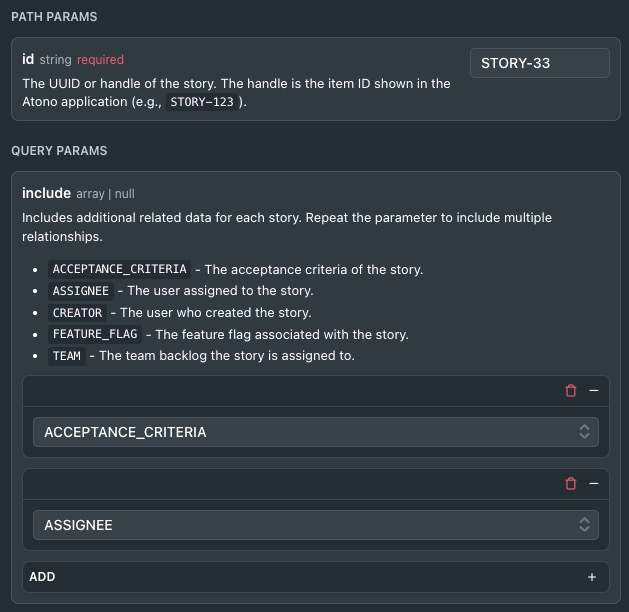
- Build the request: Fill in any required or optional request parameters, depending on the request type.
- Send the request: Click Try It! to make the request. You'll see the live response appear below, including response codes and JSON data.