Timelines
Align teams and stakeholders with clear delivery timelines.
Timelines in Atono organize timeboxes into a visual schedule, helping teams plan and adjust when stories and bugs are expected to be completed. Instead of a fixed roadmap, timelines reflect actual work in progress—teams can group related work, shift dates or scope as priorities change, and see how different pieces fit together.
This helps product managers coordinate releases, avoid bottlenecks, and set expectations with stakeholders, including customers and prospects who want to know when a feature will be available. Since timelines are directly tied to timeboxes and real work, they stay relevant as plans evolve.
Timelines
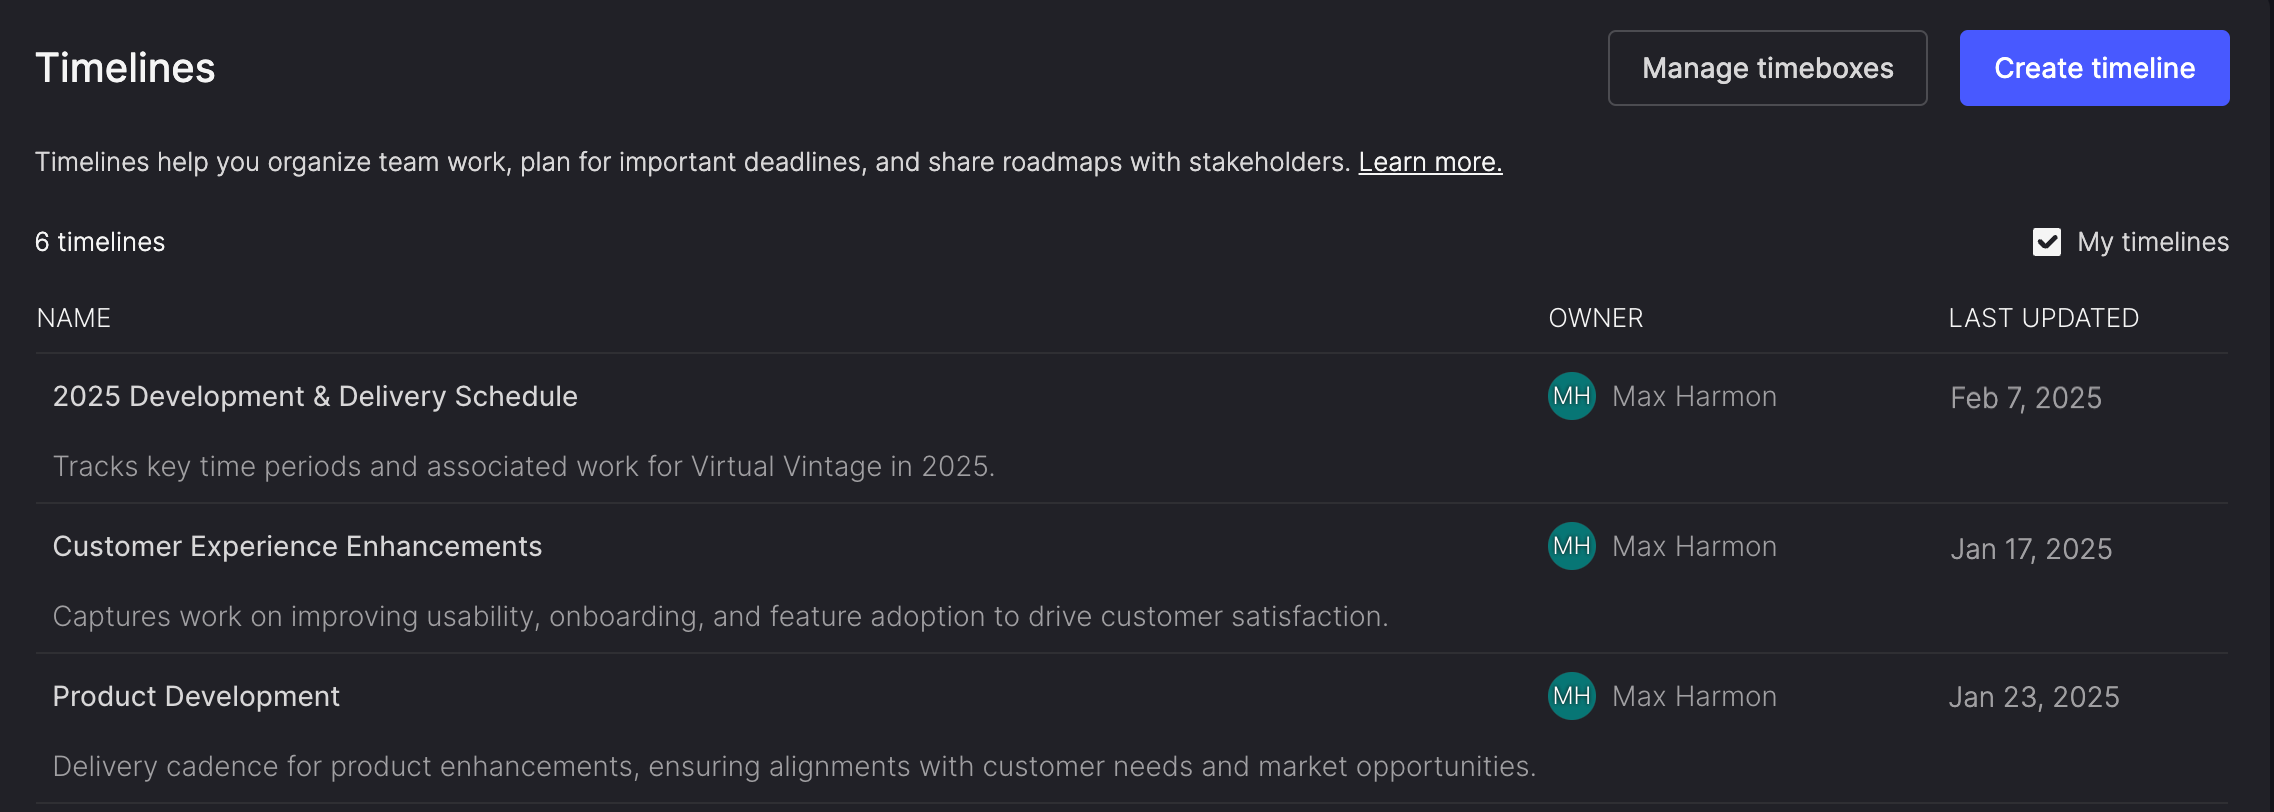
The Timelines page lists all the timelines in your workspace, showing each timeline's name, description, owner, and when it was last updated. From here, you can:
- View timelines, with the ability to filter for just the ones you've created.
- Manage timeboxes within a timeline.
- Edit a timeline's details.
- Delete timelines no longer in use.
Manage timelines
Effectively managing timelines helps you stay organized and ensures your plans are always up-to-date.
Create a timeline
Tailor your planning to specific goals, teams, or audience with specific til
- In the side menu, click Timelines.
- On the Timelines page, click Create timeline.
- In the Create timeline dialog:
- Enter a unique name for your timeline. Special characters like @ { } ' ~ | aren't allowed.
- Optionally, add a description to explain the timeline's purpose.
- Click Create timeline, or click X to cancel.
View your timelines
Easily find the timelines that matter to you, whether they're your own or shared across teams.
- To filter the list for timelines you've created, enable the My timelines checkbox in the table header.
- To view all timelines, clear the checkbox.

Edit timeline details (name and description)
Keep plans clear and aligned by updating a timeline's name or description as priorities evolve.
- On the Timelines page, hover over the timeline you want to edit.
- Click the ellipsis (...) icon at the far right of the table row.
- From the menu, select Edit timeline details.
- In the Edit timeline details dialog, update the timeline's name or description as needed.
- Click Update details, or click X to cancel.
Delete a timeline
Remove outdated timelines to keep your workspace organized and prevent confusion over old plans.
- On the Timelines page, hover over the timeline you want to delete.
- Click the ellipsis (...) icon at the far right of the table row.
- Select Delete.
- In the Delete timeline dialog, click Delete timeline to confirm, or click X to cancel.
View a timeline
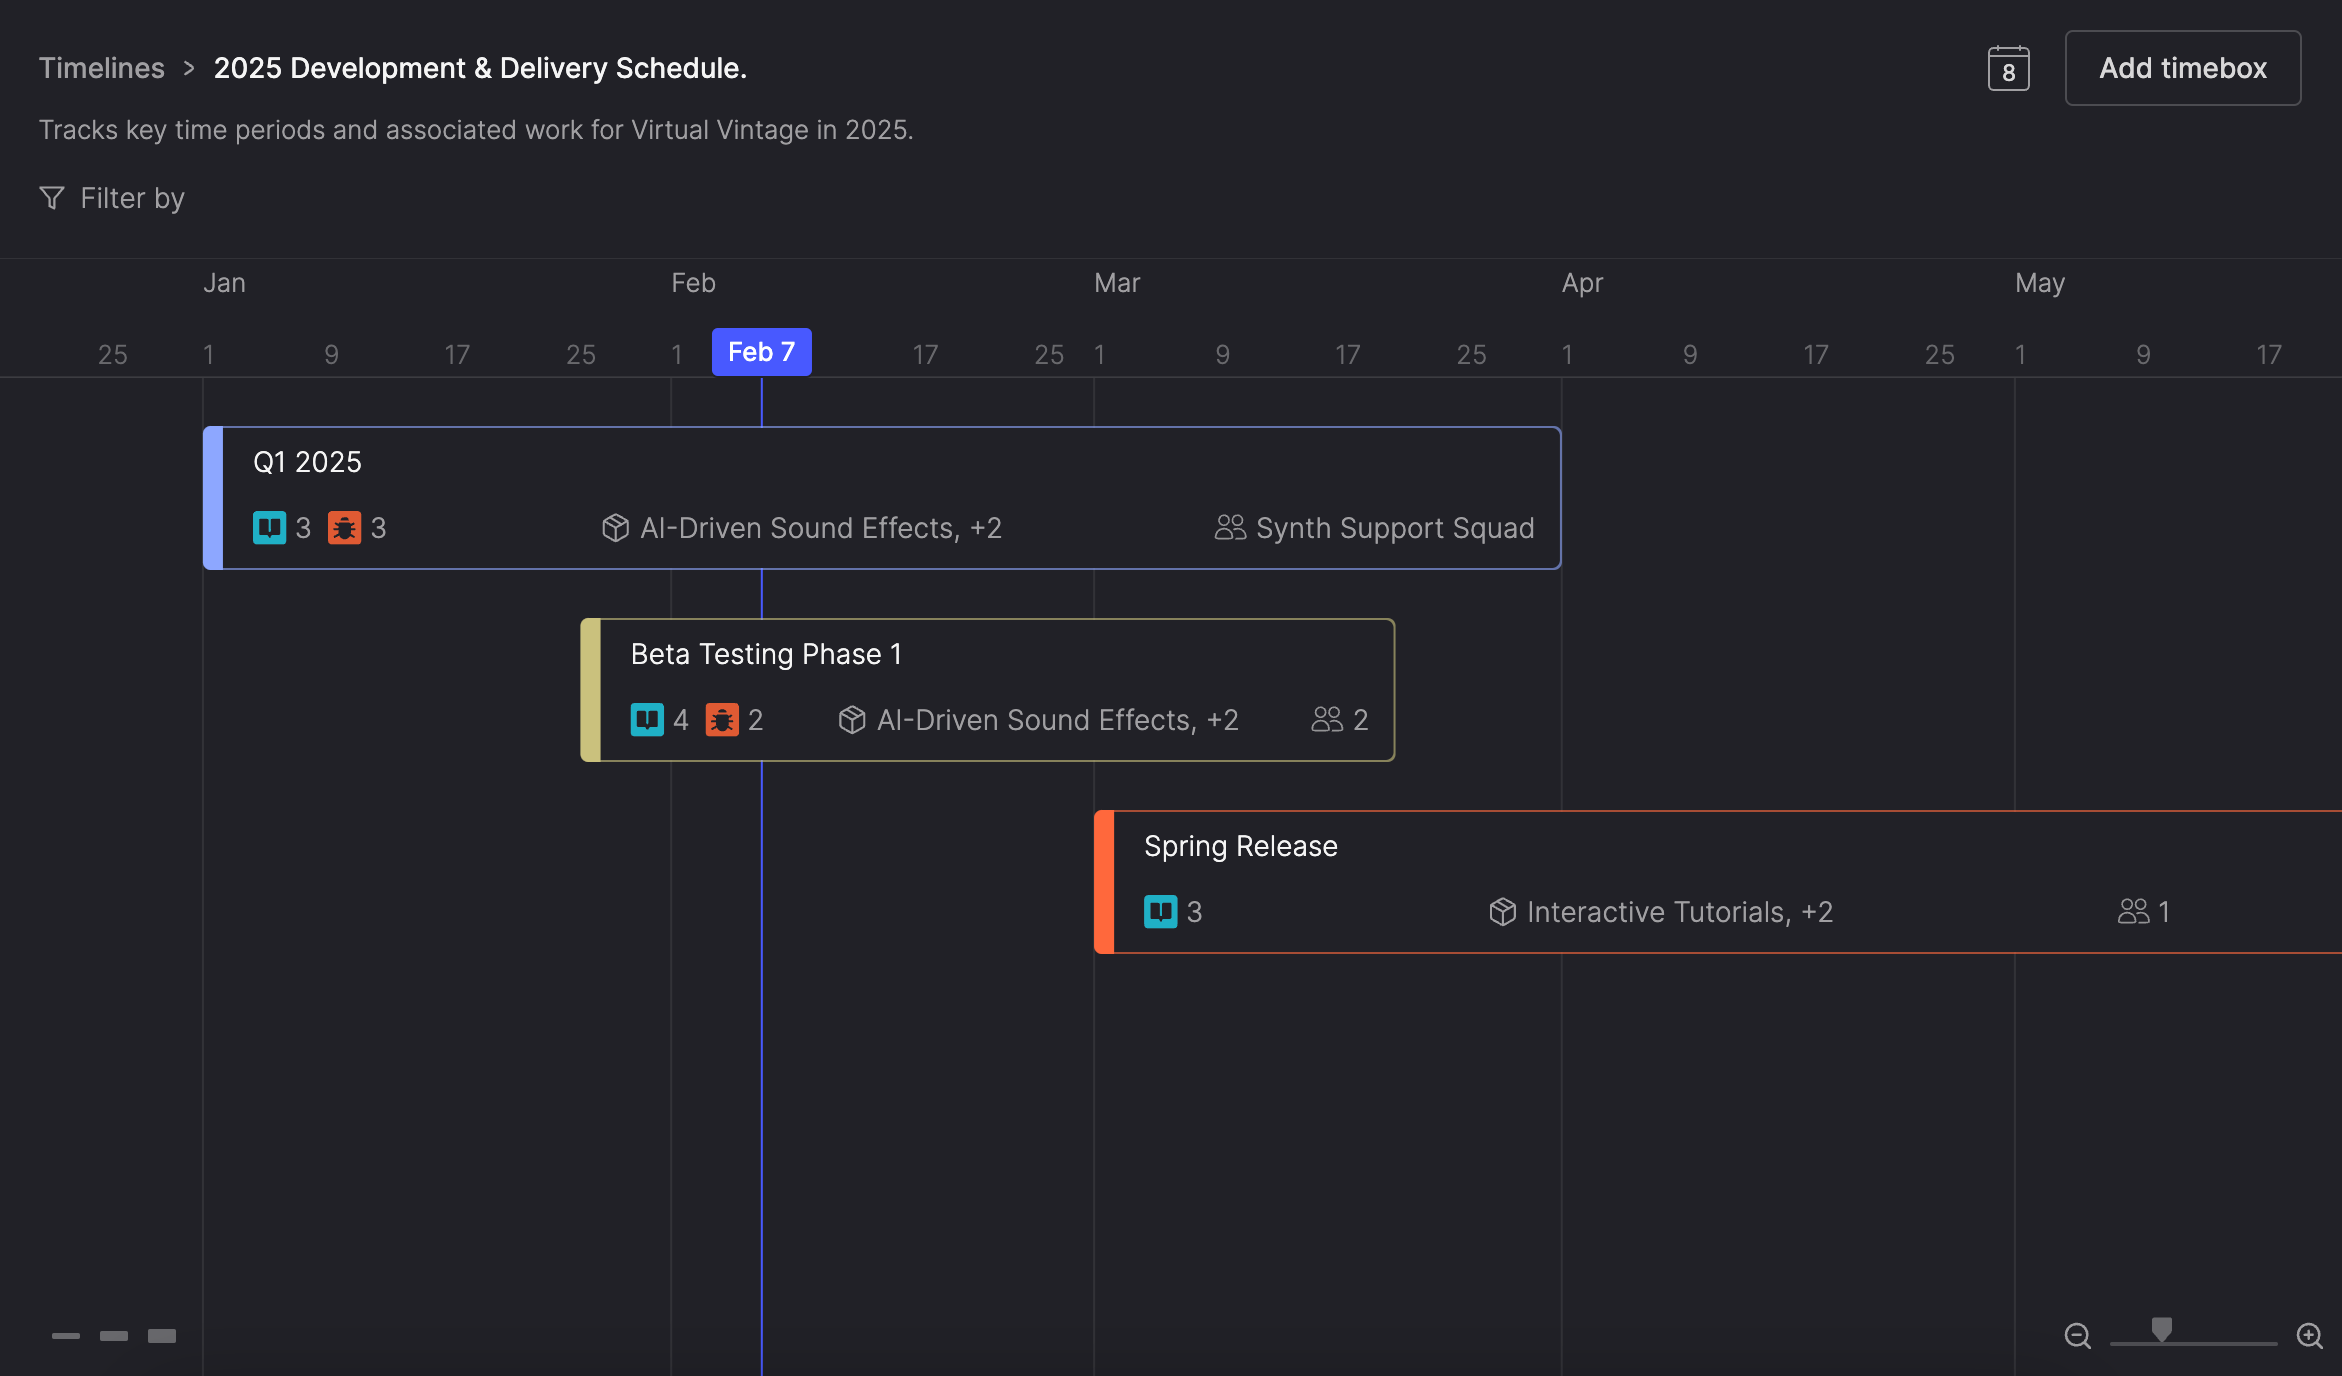
When you open a timeline, it displays a visual schedule of timeboxes. By default, the current quarter is shown, but you can scroll and zoom to adjust your view.
Each timebox displays its name, and depending on your view, additional details like:
- The number of stories and bugs included.
- Associated product themes.
- Teams linked to items in the timebox.
- Story point totals.
- If your timeline is filtered to a single team, each timebox shows the total story points for that team’s stories. If all stories in a timebox belong to the same team, the total also appears in the timebox detail view.
- A warning indicator when the timebox includes work that may not be completed within its dates.
Global timeline view adjustmentsSome timeline adjustments, like zooming, filtering, and scrolling are browser-specific and won't affect anyone else's view. Other changes, such as adjusting timebox height or changing their color are visible to everyone viewing the timeline.
Identify timeboxes with warnings
Warnings highlight timeboxes that may need attention as delivery approaches.
When a timebox includes at least one story or bug with a warning, a warning indicator appears directly on the timebox. This signals that some of the work in that timebox may not be completed within its planned dates.
When warnings appear
Warnings focus on near-term delivery. Atono shows warning indicators only on future timeboxes that end within the next three months. This keeps warnings centered on work that’s close enough to act on, while timeboxes further out remain flexible for planning.
Why a timebox may show a warning
A timebox can show a warning for several high-level reasons, such as when it includes:
- Items that aren’t assigned to a team
- Items projected to finish after the timebox end date
- Items on a Scrum team backlog that aren’t assigned to a sprint
To see which specific items are affected and why, open the timebox.
For details about item-level warnings and projected completion dates, see Timeboxes.
Scroll through the timeline
You can explore the timeline in several ways:
- Horizontally: Drag the timeline or swipe on a mouse or trackpad.
- Vertically: Use a mouse wheel or swipe on a mouse or trackpad to move through the timebox list.
- Return to today: Click the calendar icon at the top of the timeline.
Adjust zoom levels
Tailor your view to suit your needs:
- Zoom in to focus on precise details, like a 2-day span.
- Zoom out to see the big picture, with up to 5 years displayed at once.
You can adjust zoom by:
- Pinching on a trackpad.
- Scrolling with the mouse wheel while holding the
Ctrl(Windows) orCommand(Mac) key. - Using the zoom controls in the bottom-right corner.
Your zoom level is remembered for each timeline.
Adjust timebox height
Changing a timebox's height affects everyone's view of the timeline.
To view more or less detail in a timebox:
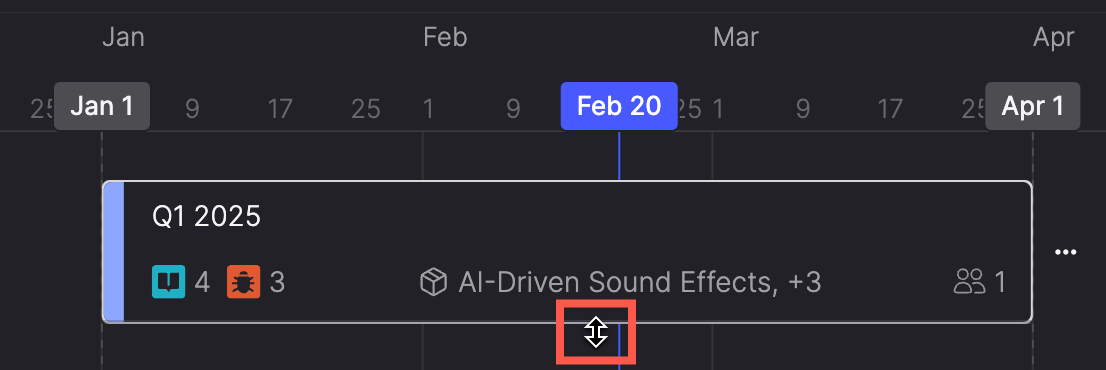
- Adjust a single timebox: Hover over its bottom border. When the resize handle appears, drag to make it taller (up to 3 lines) or shorter.
- Adjust all timeboxes: Use the height controls in the bottom left of the timeline to set timeboxes to 1, 2, or 3 lines.
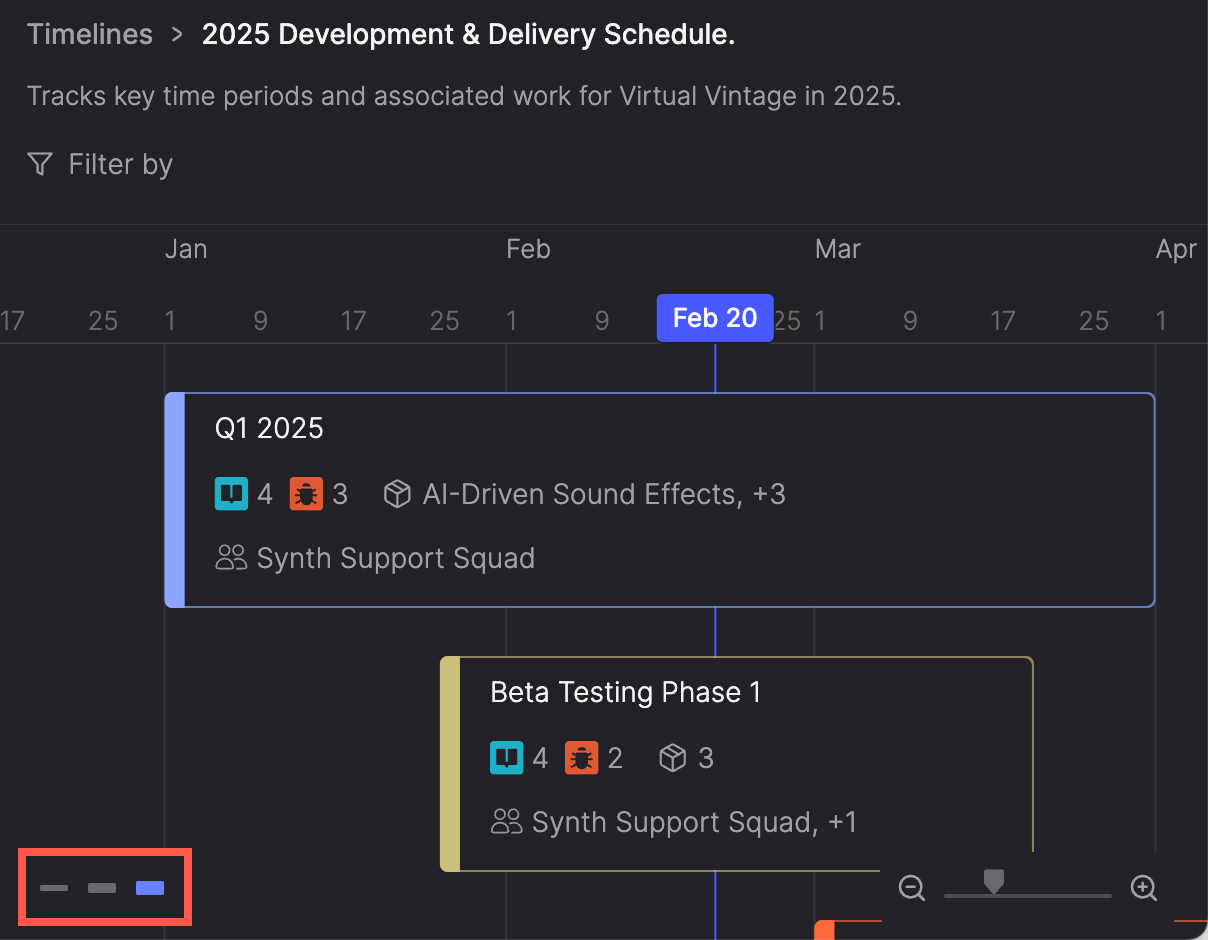
Filter timeboxes
Find timeboxes that include items associated with particular teams or product themes by applying one or more filters.
- Click Filter by at the top of the timeline.
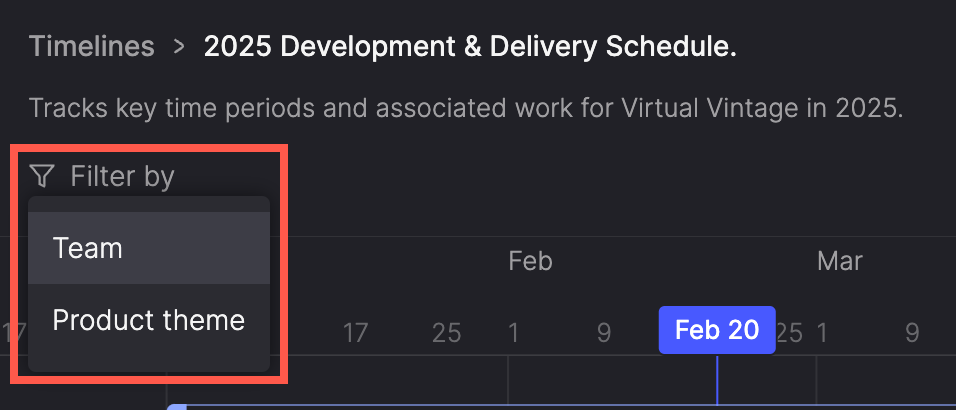
- Select a filter and fill in any required details.
- Click Done.
- Repeat steps 1-3 to add an additional filter as needed.
The timeline updates to display only timeboxes matching criteria from all filters.
Available filters
| Filter | Description |
|---|---|
| Team | View timeboxes that include items on the selected teams' backlogs, or items with 'No team'. |
| Product theme | View timeboxes that include items assigned to particular product themes, or items with 'No product theme'. |
Use timeboxes
Timeboxes provide a snapshot of key information on a timeline, such as stories, bugs, associated themes, and teams. You can also customize timeboxes by changing their colors directly on a timeline to make them visually distinct or convey a theme.
Dive deeperYou can open a timebox to explore its contents in more detail or link to a filtered view of those items on the Everything page. For more details about creating, managing, and viewing timeboxes, visit the Timeboxes help guide.
Add a timebox to the timeline
Adding timeboxes allows you to visualize specific deliverables and milestones on your timeline.
Add a timebox from the dialog
- When viewing a timeline, click Add timebox.
- Do one of the following:
- Search or select an existing timebox.
- Click + Create a new timebox and fill out the required information. For details, see step 4 in Create a timebox.
Add a timebox by double-clicking
You can also create a timebox directly on a timeline by double-clicking the date where you want it to start. The timebox starts on the date you clicked and ends two weeks later. It’s created in the row closest to where you clicked.
When the timebox is created, its name is automatically selected so you can rename it immediately.
View items in a timebox
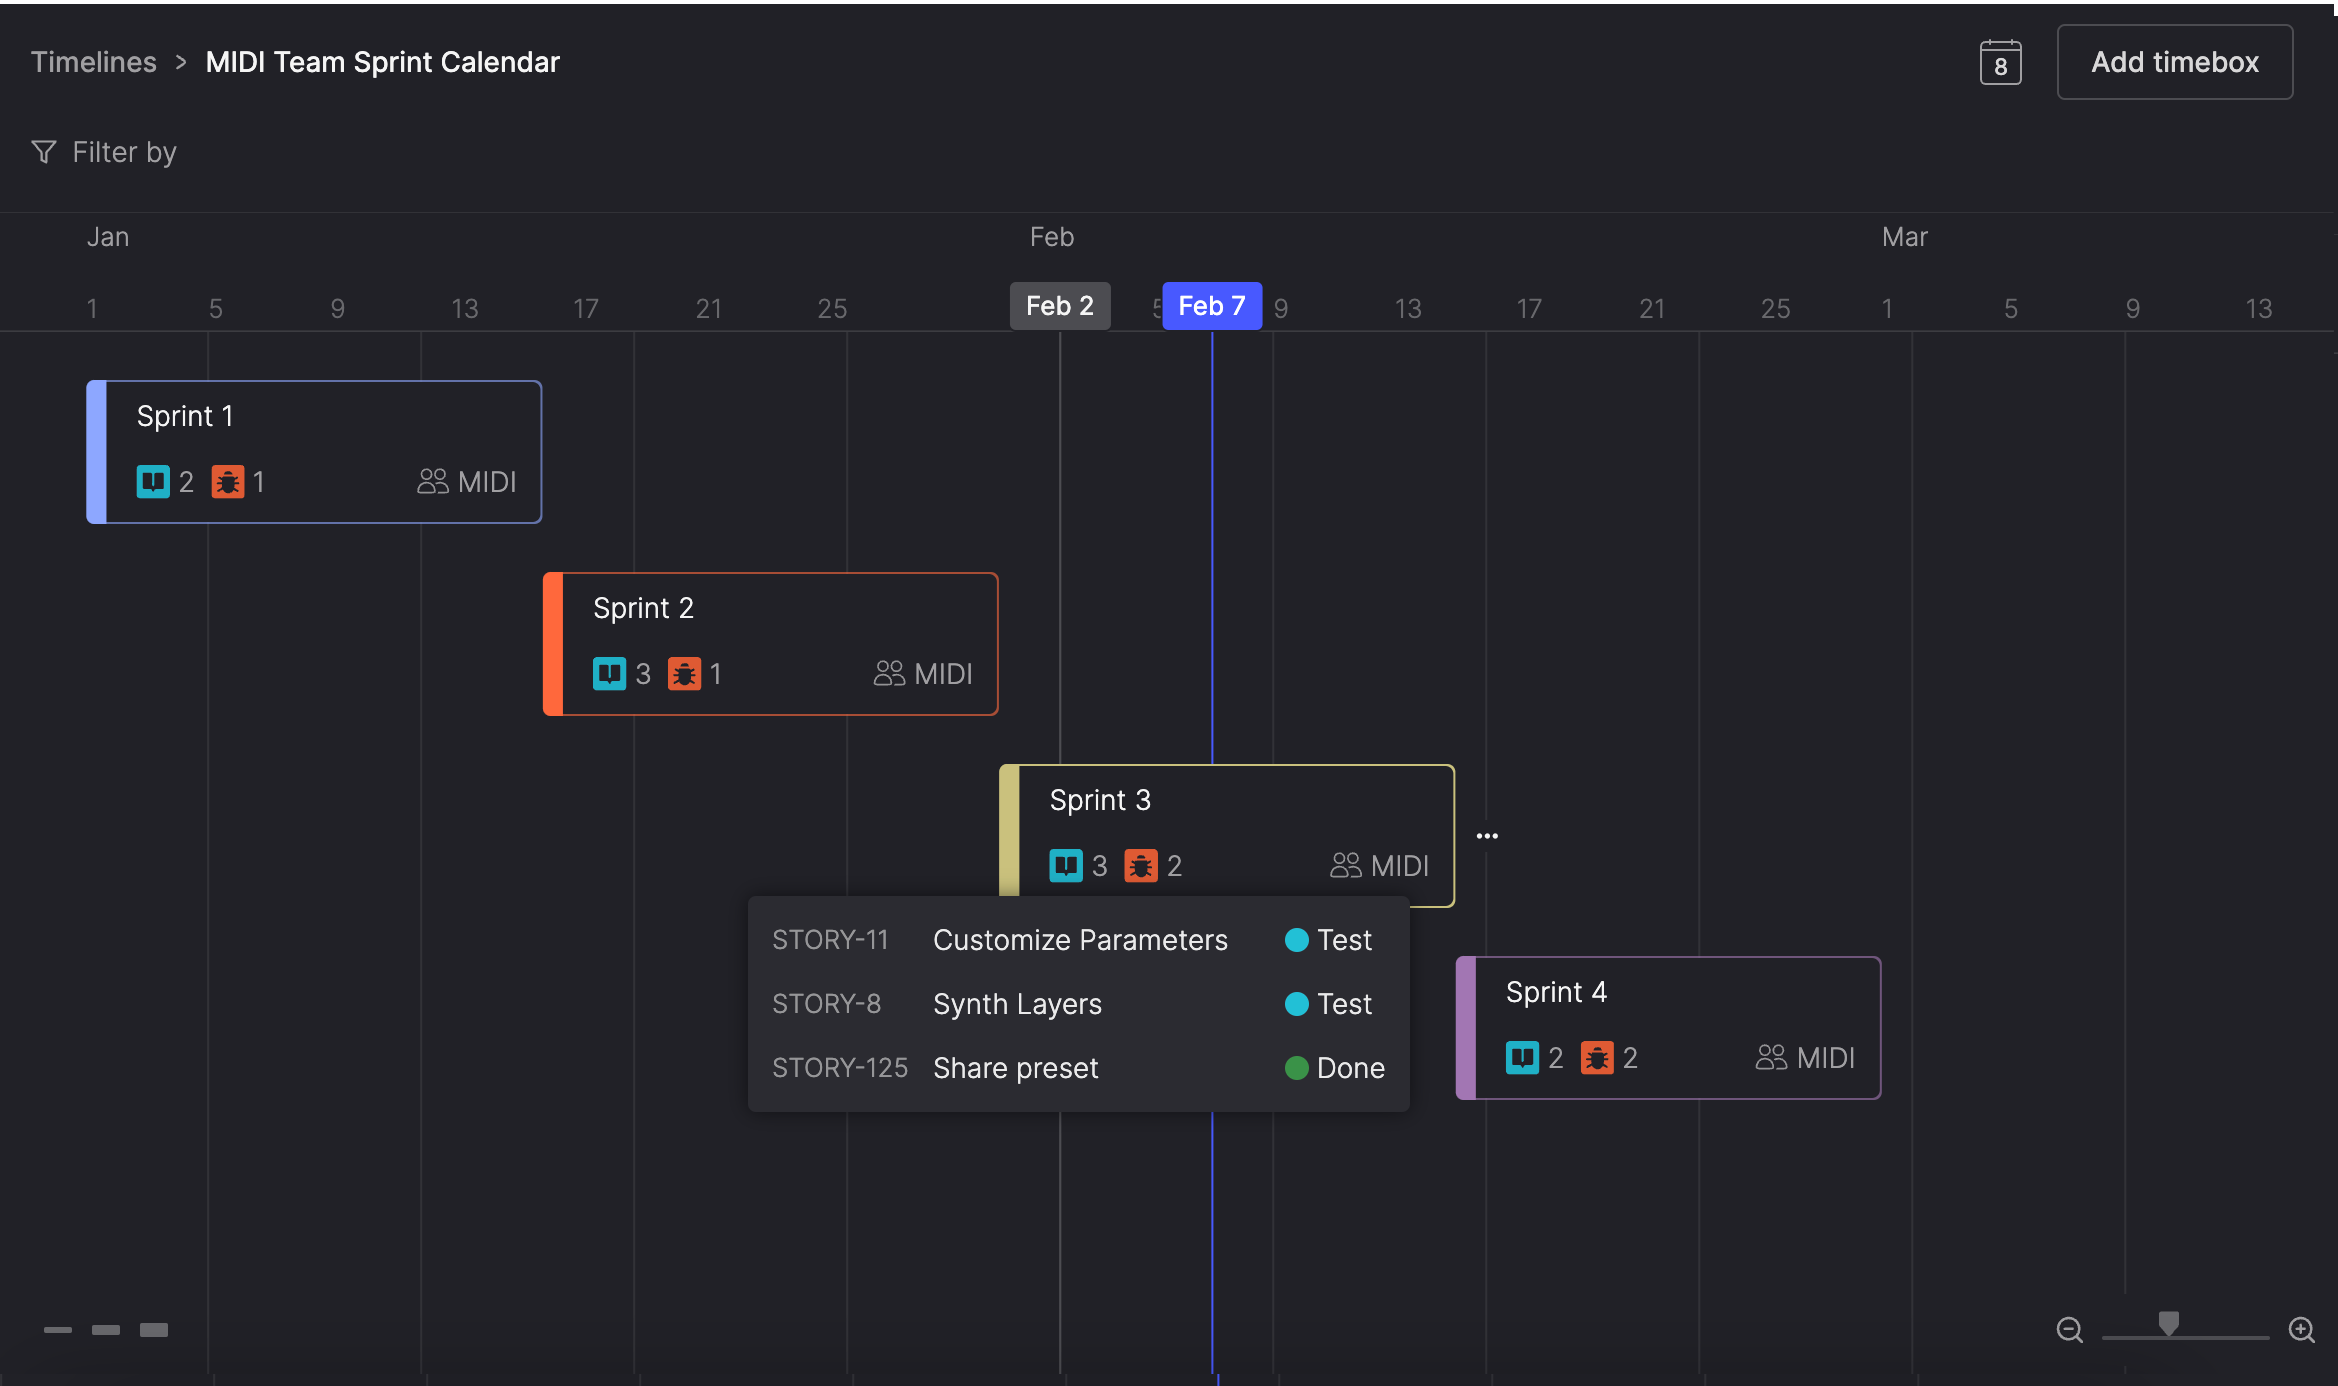
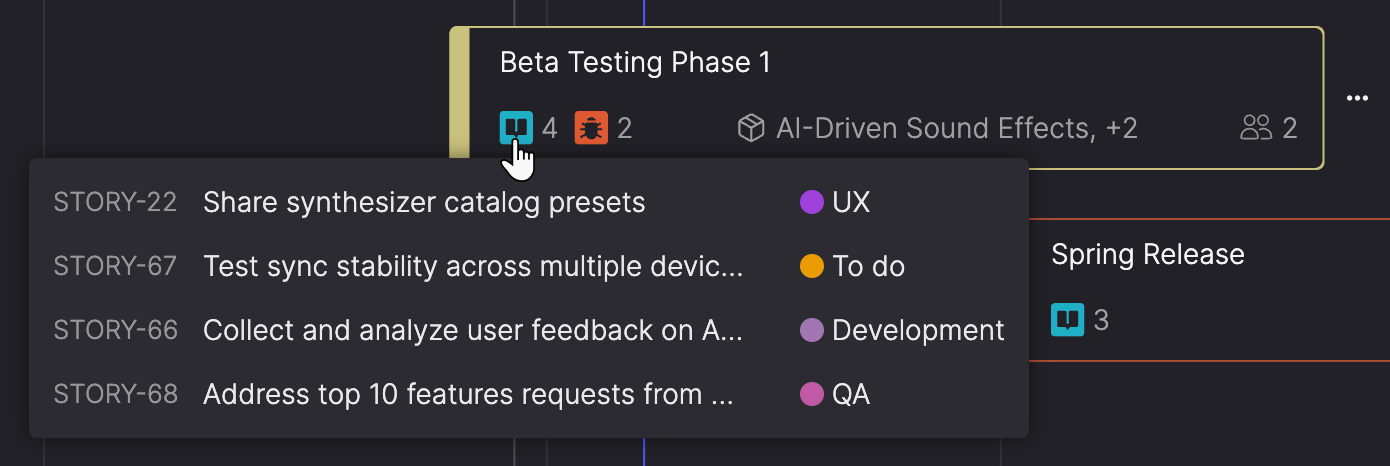
Hover over the story or bug icon in a timebox to preview a list of items, including their:
- Item ID
- Title
- Current workflow step
For more information about viewing all the items in a timebox, as well as adding and removing items, see View a timebox.
View associated product themes
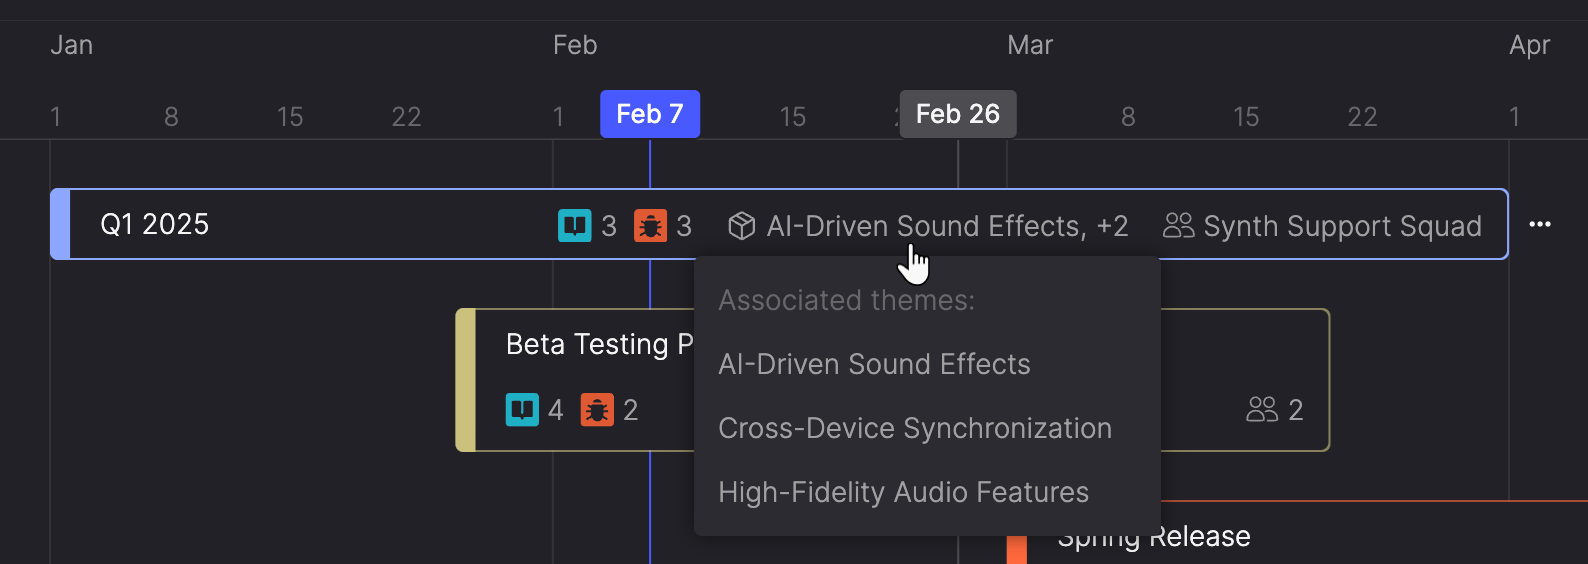
Hover over the product theme icon in a timebox to see a list of associated product themes. Items in the timebox determine the associated themes.
View associated teams
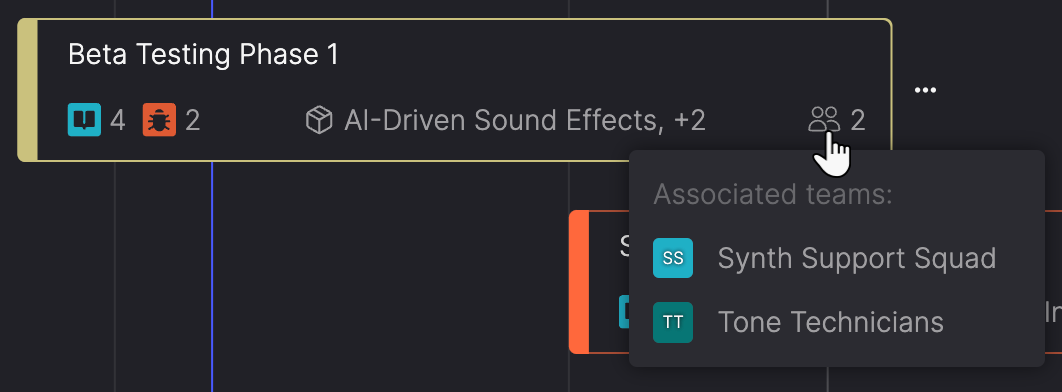
Hover over the team icon in a timebox to see teams linked to items in the timebox. Teams are associated when items are assigned to their backlog.
Change a timebox's color
Updating a timebox's color is visible to everyone viewing the timeline.
Timeboxes are assigned a default color when created, but you can change their color to make them stand out or align with other timeboxes for a cohesive visual theme.
-
Hover over a timebox.
-
Do one of the following:
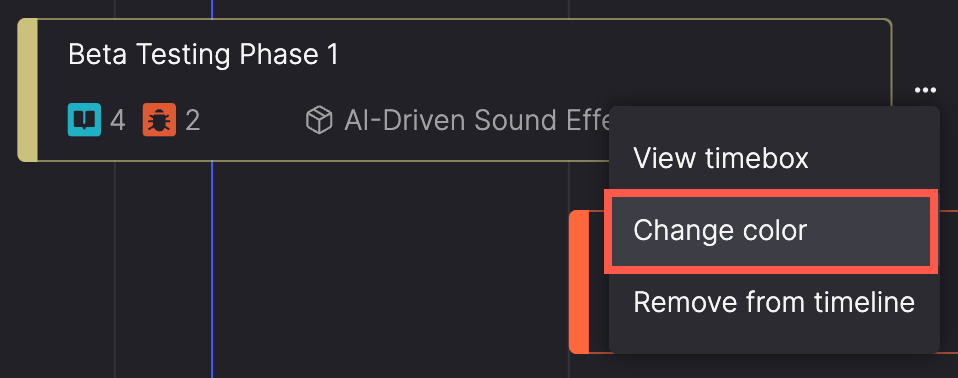
- Click the ellipsis (...) icon next to the timebox and select Change color.
- Click the colored edge of the timebox.
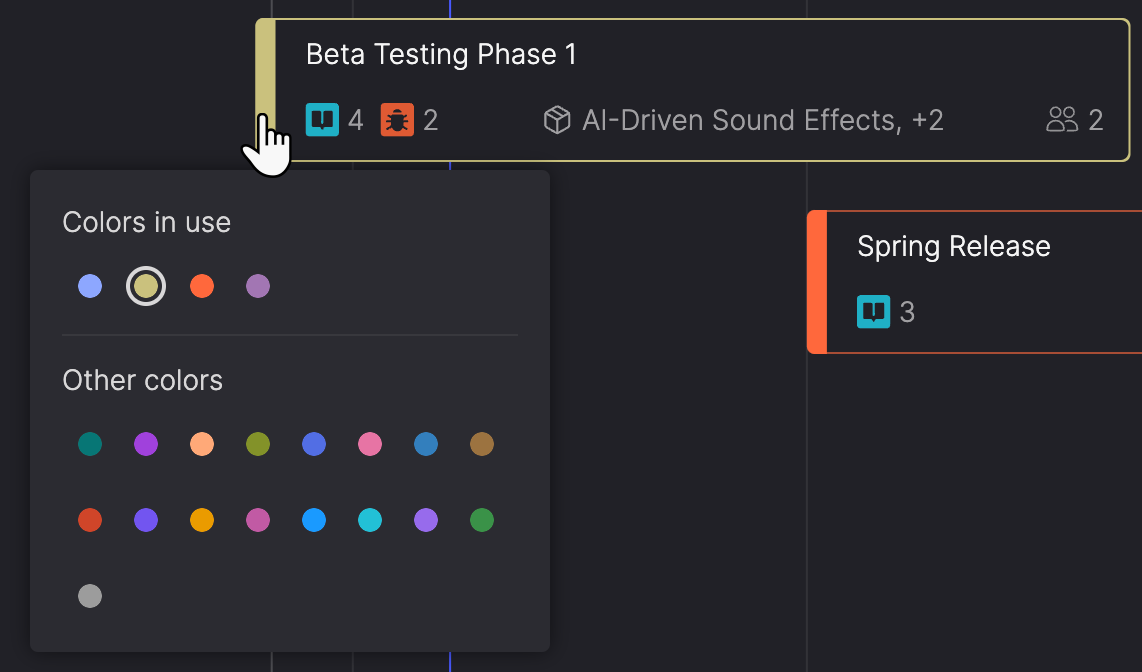
- In the popup, select a new color or choose from the currently used palette.
Remove a timebox from a timeline
Remove timeboxes to clean up outdated plans and maintain a clear view of your current priorities.
- Hover over a timebox.
- Click the ellipsis (...) icon next to the timebox and select Remove from timeline.
- In the Remove timebox from timeline dialog, click Remove timebox to confirm, or click X to cancel.
Use release markers
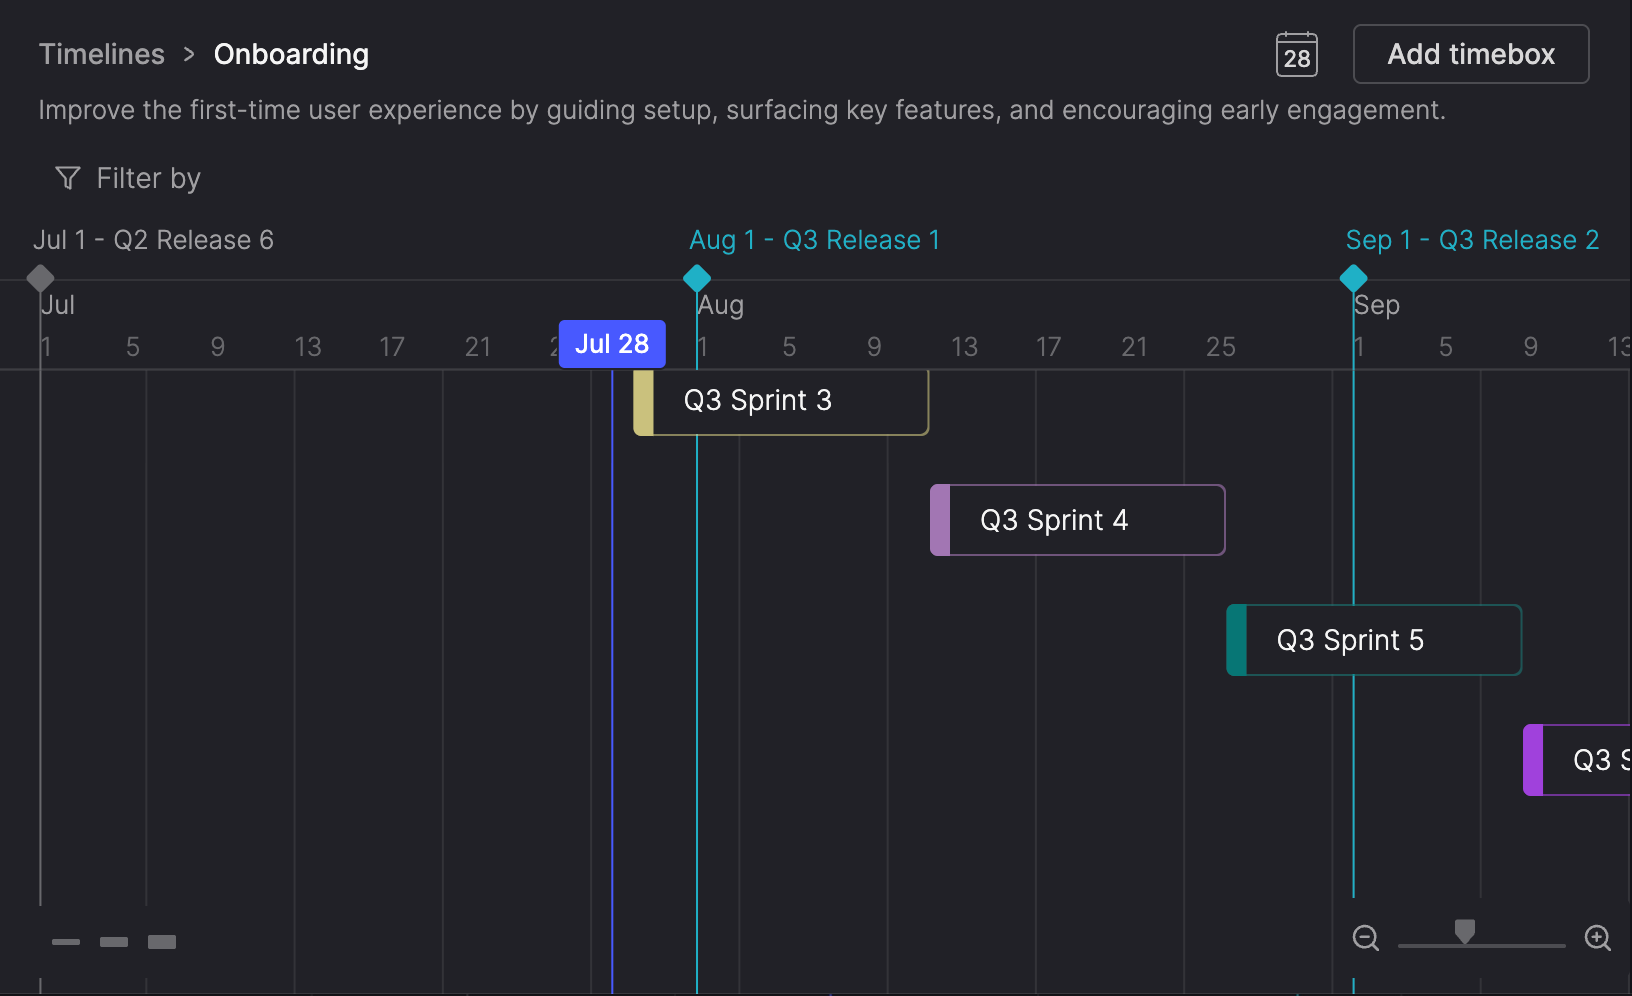
Use release markers to coordinate key dates across product, marketing, and engineering. A release marker appears as a vertical line that spans the entire timeline, making it easy to align work with important milestones like launch dates or feature flag flips.
Add a release marker to the timeline
- Hover over the top of the timeline and click the plus (+) icon that appears.
- Enter a name for the release marker.
- Release marker names must be unique within the timeline and less than 100 characters in length.
- Click Add marker, or click X to cancel.
The release marker will appear on the timeline at the date where you created it.
Edit a release marker
To edit the name of a release marker, do one of the following:
- Right click the marker and select Rename.
- Hover over the marker's name and click the pencil icon to rename it inline.
Move a release marker
To reschedule a release marker, drag it left or right along the timeline. The marker will snap to gridlines and timebox boundaries based on the current zoom level.
Delete a release marker
Right click the marker and select Delete.
Updated 2 days ago
