In progress
Track and manage your team’s active work as it moves through workflow steps.
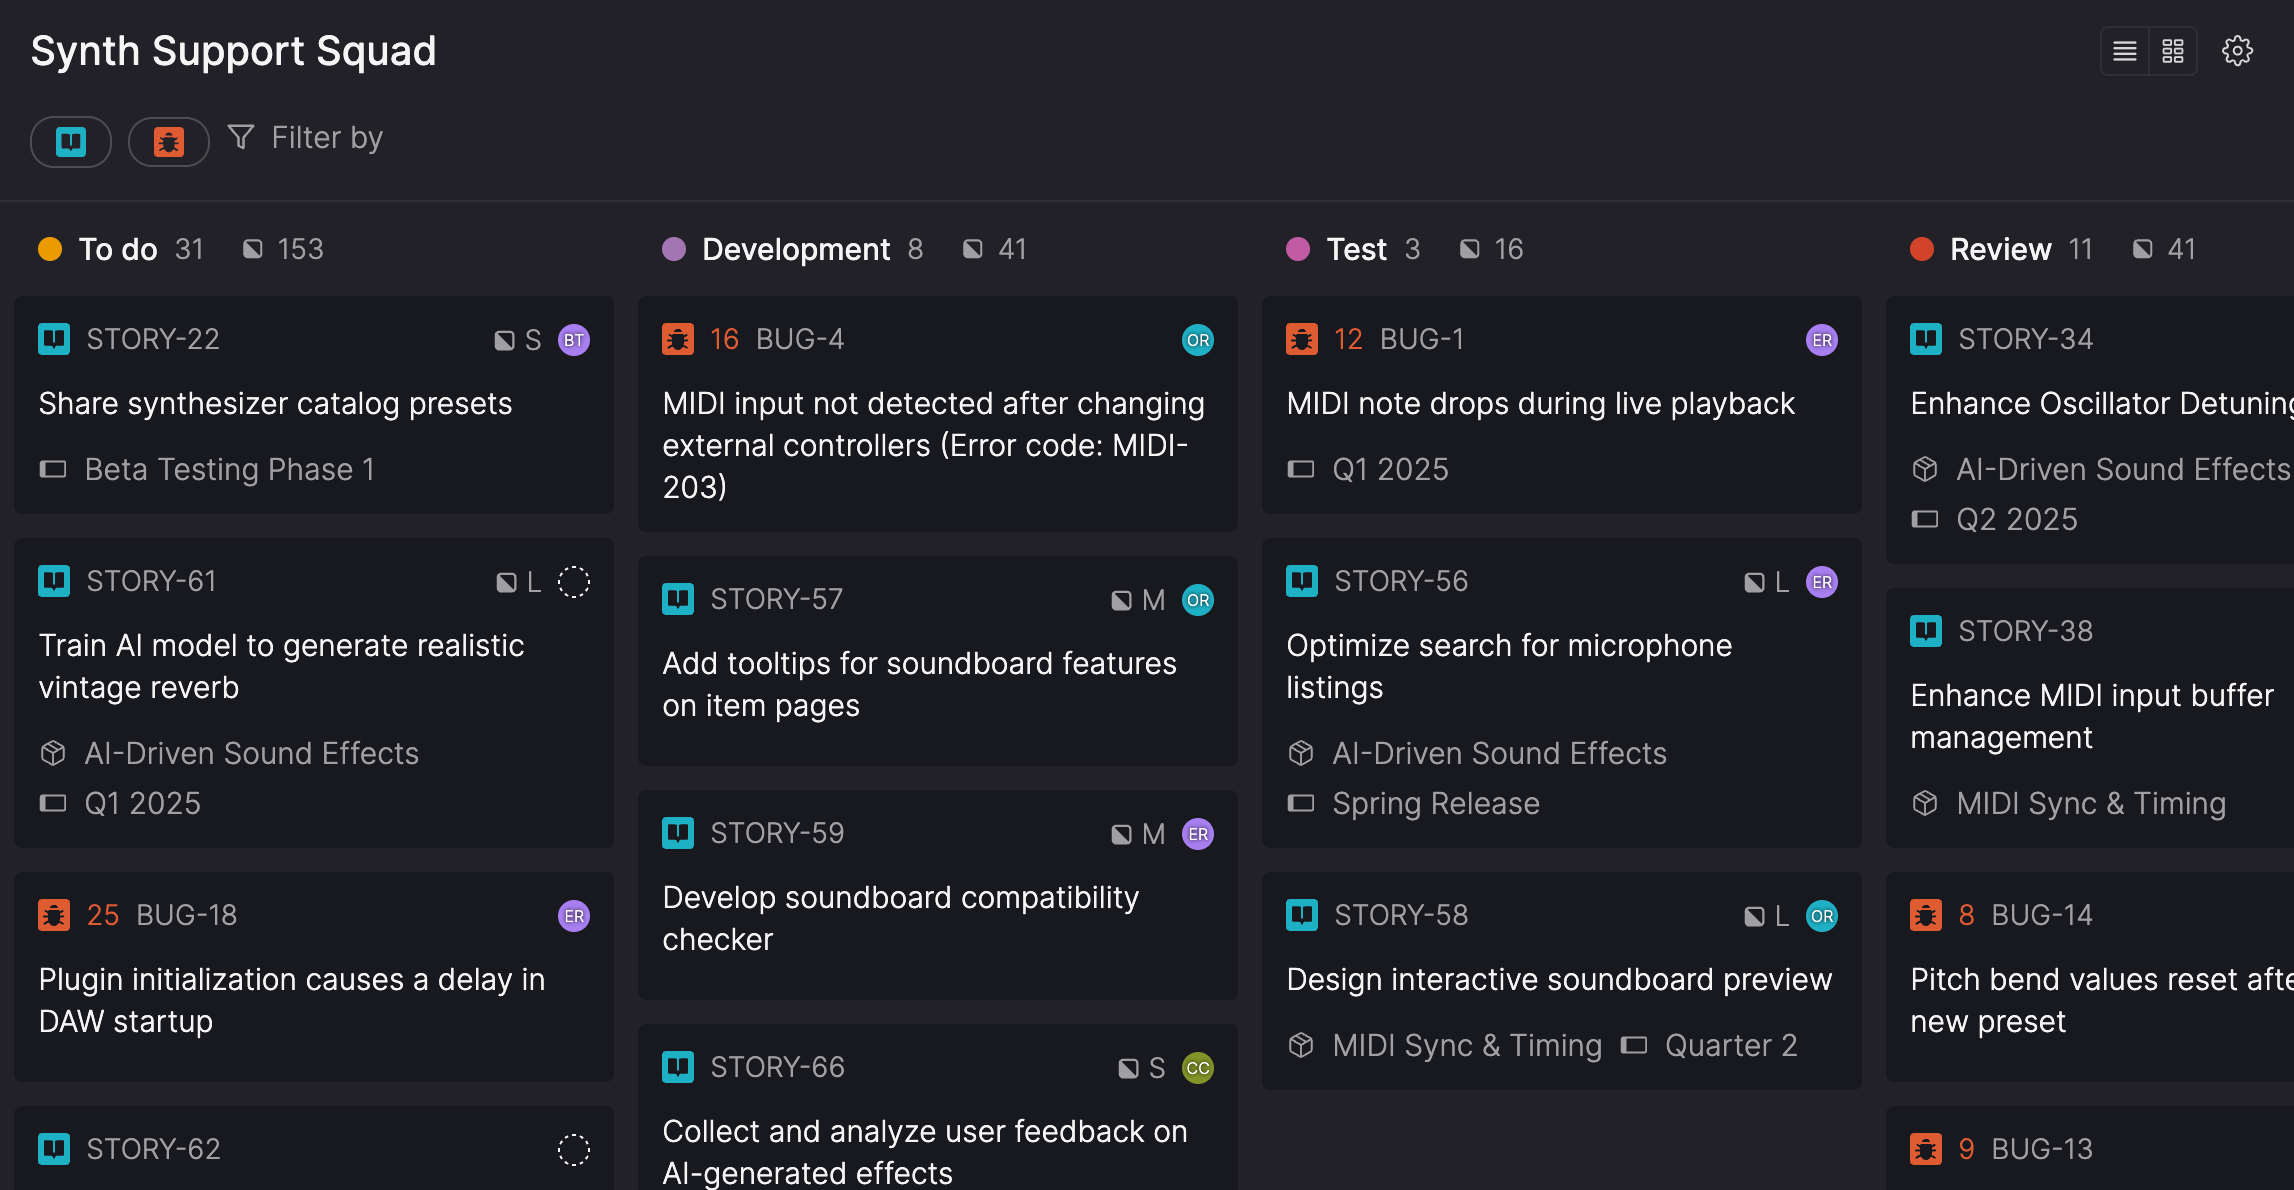
The In progress page shows all stories and bugs your team is currently working on. It’s designed for day-to-day use—where team members update progress, hand off work, and keep cycle times accurate.
Each team’s In progress page reflects its unique, customizable workflow, showing items as they move through steps from active work to completion.
How In Progress and Backlog work togetherThe In progress page shows your team's active work. Only the 20 most recent items 'To do' items appear here—the rest stay in Backlog for planning and prioritization.
What's included
The In progress page offers both list and board views, showing active stories and bugs with key details for each item, including:
Each item shows:
- Item type and ID
- Title
- Assigned user
- Staleness indicator (for items taking statistically longer than expected in a specific workflow step)
- Optional settings (for more details, see List and board view settings):
- Estimated completion dates (for items in the first workflow step)
- Product themes
- Pull requests (requires GitHub integration)
- Risk rating (bugs only)
- Story size (stories only)
- Timeboxes
- Total story points
Click any item to open its full details and take actions like updating workflow steps, changing assignees, or adjusting size or risk ratings.
You can switch between list and board view depending on how your team prefers to track work. Your selected view applies across all team pages until you change it, keeping your experience consistent as you move between teams.
Performance and visibilityIn progress shows a streamlined view of completed work so teams can stay focused on what's current. Steps in the 'Done' and 'Won't do' categories display only the 20 most recent items.
To review everything that's been completed or deprioritized, click View all items at the bottom of the column or section. This opens the Everything view with the same team, workflow steps, and any filters you've set on the In progress page.
List and board view settings
You can choose which item details to display in list or board view. These settings can be configured separately for each view from the Settings menu.
- Open In progress in either list or board view.
- Click the Settings (gear icon) menu in the header.
- Select or clear the checkboxes to control what's displayed in that view:
- Estimated completion dates – when each story or bug is expected to be done.
- Product themes – which product theme each item belongs to.
- Pull requests – any linked GitHub pull requests (requires the GitHub integration).
- Risk rating – the bug's risk on a scale of 1 to 25, with 25 representing the highest risk
- Story size – the story's estimated shirt size, from XXS to XXL.
- Timeboxes – which timebox the item is included in.
- Total story points – The combined (Fibonacci) size of all visible stories in a column or section based on your current view and filters.
Access a team's In progress work
You can open a team’s In progress work from the Your teams section of the sidebar.
- Click a team name to expand its menu.
- Click In progress to open the page of active work for that team.
A separate team icon next to the team’s name opens the Team overview, where you can see members, stakeholders, and other administrative information.
Manage your team's work
Effectively managing your team's work keeps development running smoothly. Create new stories and bugs to capture work, and move them through workflow steps as they progress. This helps your team maintain accurate cycle times and estimated completion dates.
Views and layout
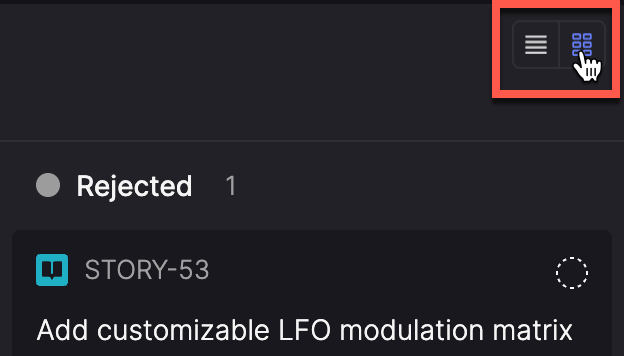
You can switch between list view and board view to manage your team’s active work in the way that suits you best. Use the icons in the In progress header to switch views.
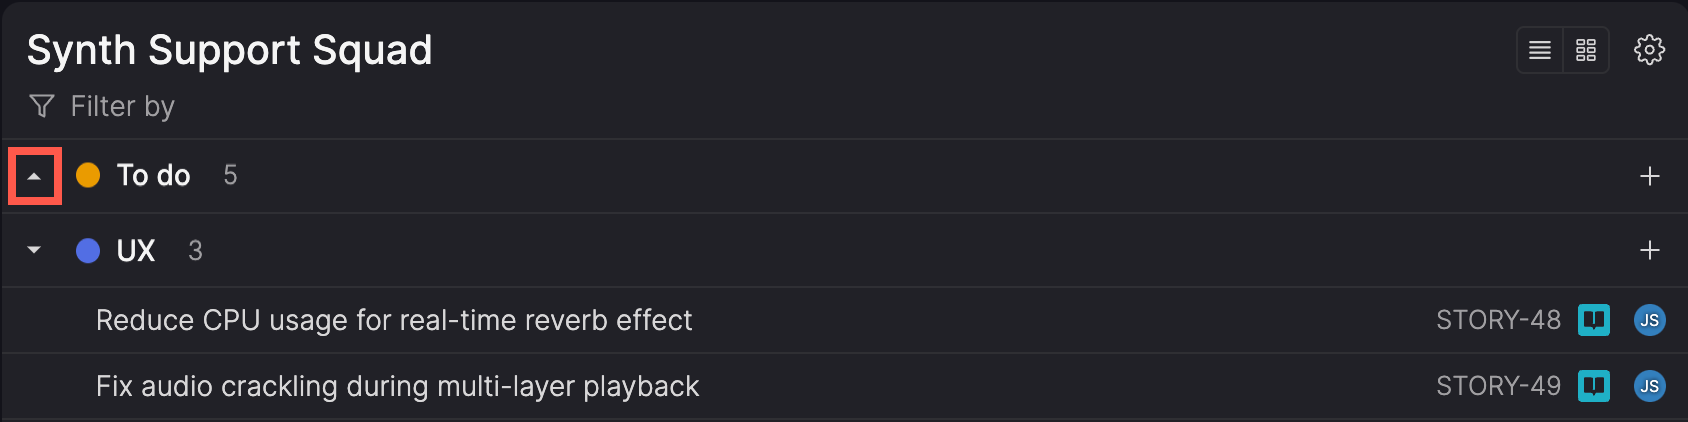
In both list and board views, you can collapse or expand steps to keep things manageable:
- List view: Click the arrow next to the colored circle in the section header to collapse or expand the step.
- Board view: Hover over a step name and click the collapse (><) icon to collapse the column.
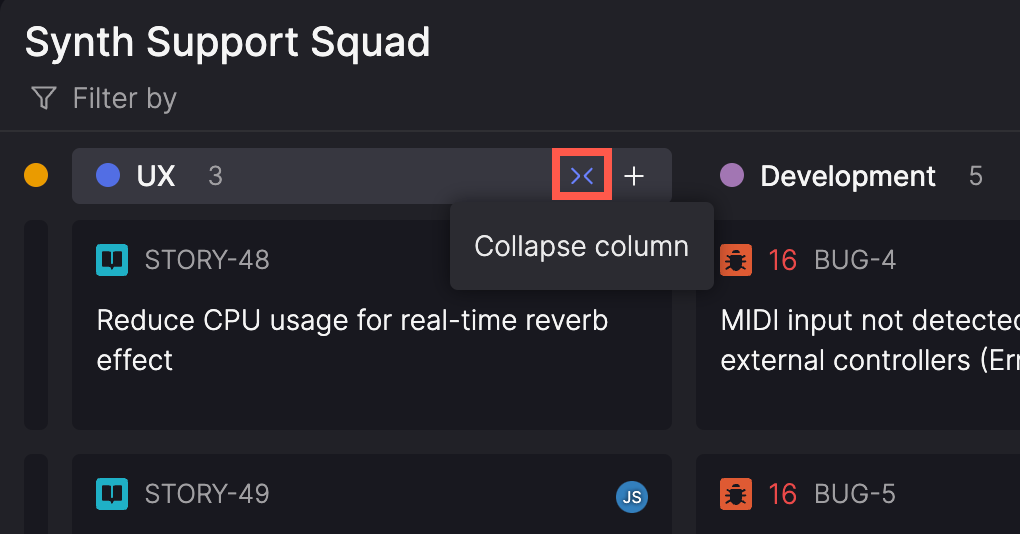
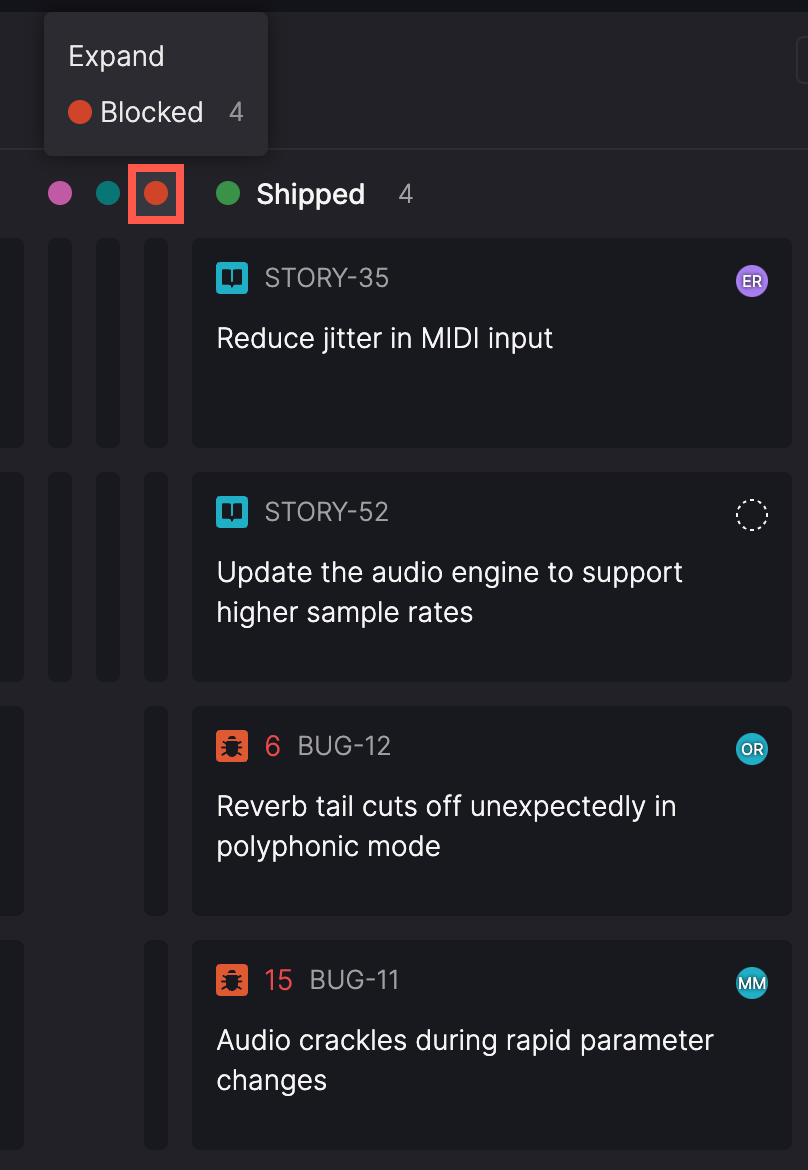
- Collapsed columns appear as a circle and vertical bars, with each bar representing an item. Hover over the circle to see the total count, or click the circle or any bar to expand the column again.
For example, collapse sections like 'To do' and 'Done' when focusing on active work to reduce distractions. Expand them later to review completed or upcoming items.
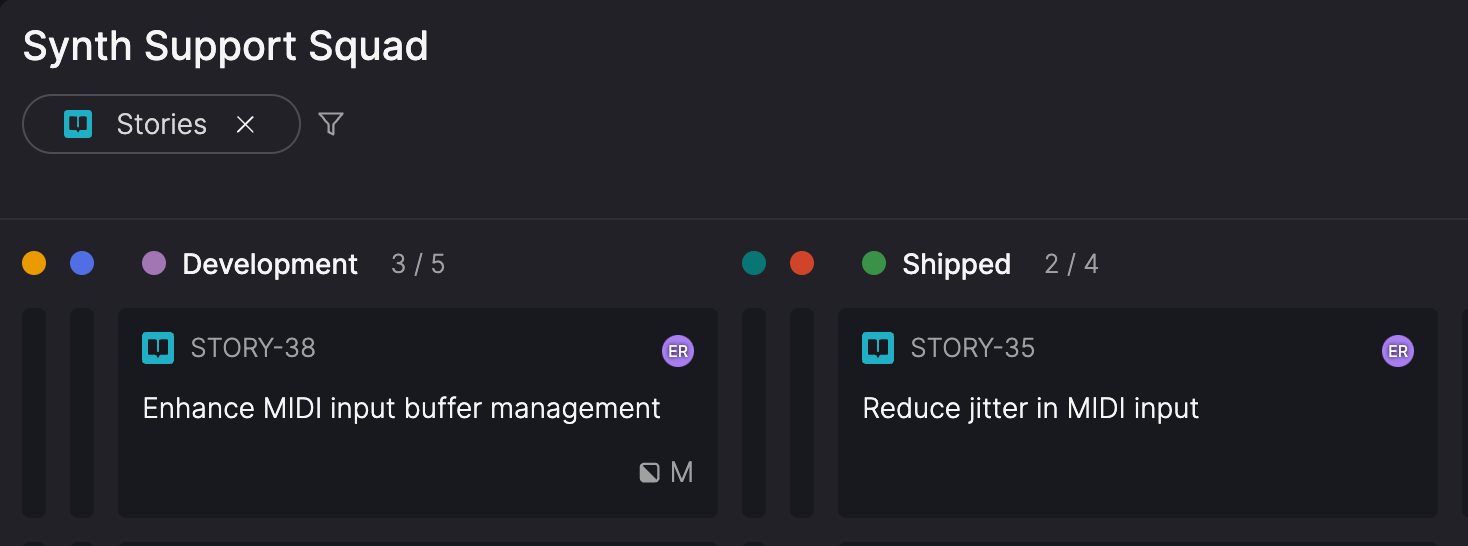
Filter work in progress
Use filters to narrow the In progress page to items that match specific criteria—for example, stories assigned to a particular user, or bugs updated within a certain timeframe.
- Use the icons at the top of the page to choose whether to show Stories, Bugs, or both. At least one must be selected to display any items.
- Click Filter by at the top of the page.
- Select one of the available filters and fill in any required details.
- Click Done.
- Repeat steps 2-4 to add additional filters as needed.
The list or board updates to show only items matching criteria from all filters.
For multi-select filters, items matching any of the selected values are included. For example, using the Assignee filter to select more than one user includes items assigned to either person.
Active filters appear at the top of the page. Workflow steps without matching items are hidden, and counts adjust based on what’s displayed.
To remove a filter, click the X on the filter tag or adjust the filter settings.
Clear filters to reorder workYou can't reorder or move items between steps when filters are applied. Clear all filters to make these actions available.
Available filters
| Filter | Description |
|---|---|
| Assignee | Filter by the user the item is assigned to, or 'No assignee'. |
| Timebox | Show items within selected timeboxes, or 'No timebox'. |
| Created* | Set a date and time range for when items were created. |
| Last updated* | Set a date and time range for when items were last updated. |
*When using the Created andLast updated filters, you can specify absolute or relative date ranges and include the time of day to narrow your search further. For details, see Filtering by date and time.
Add new items
You can create stories and bugs directly within the In progress page to capture work that begins mid-cycle or wasn’t part of the original backlog. New items are added to the bottom of the selected workflow step but can be reordered at any time.
For teams with backlog management enabled, only the team's backlog owners can create new stories in progress. Team members can create and manage bugs regardless of the Backlog management setting.
List view
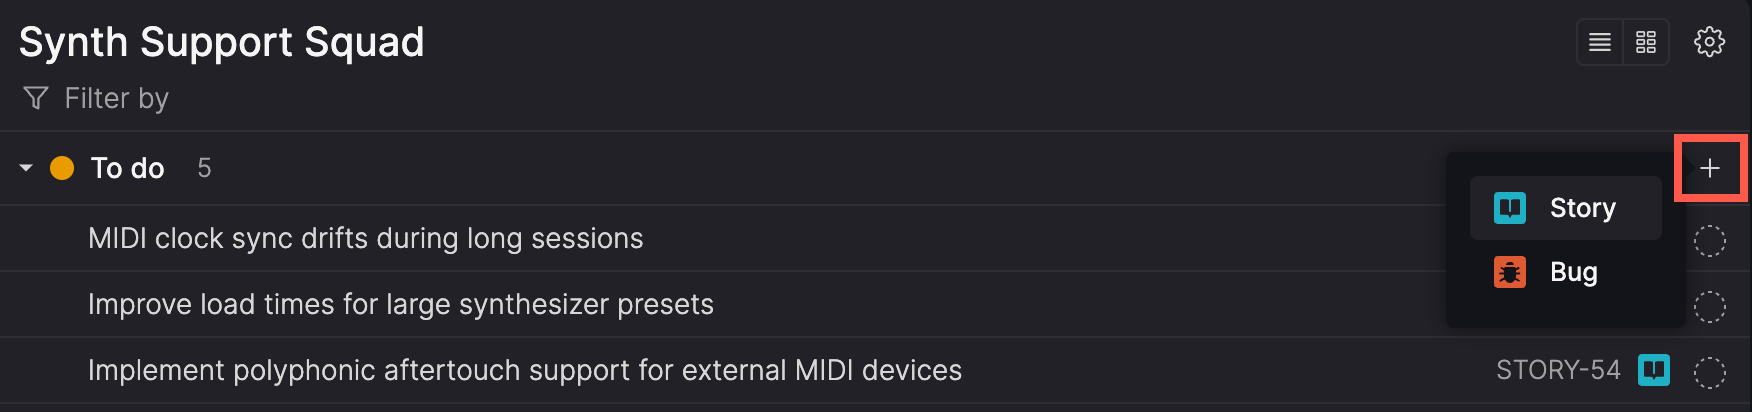
- Click the plus (+) icon next to a step and choose Story or Bug.
-
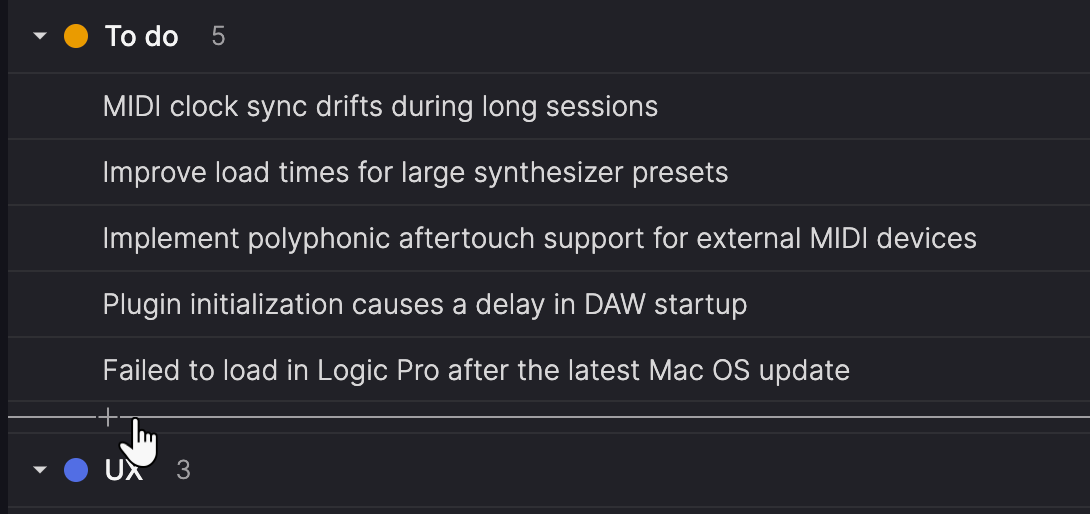
Add stories inline at the top or bottom of the 'To do' category. Press Enter to quickly add additional story titles, then fill in the details later.
-
Right click on any item in the 'To do' category and select Create before or Create after to create a story before or after that item.
Board view
- Hover over a column header or below the last item in the column and click the plus (+) icon when it appears.
For more information on managing stories and bugs, see Stories and Bugs.
Move items through the workflow
To move an item from one workflow step to the next (for example, from 'To do' to 'Design'), do one of the following:
- Drag and drop: Click and drag the item to a new step.
- Select the step: Open the item's details and choose a new step. The item moves to the end of that step but can be repositioned.
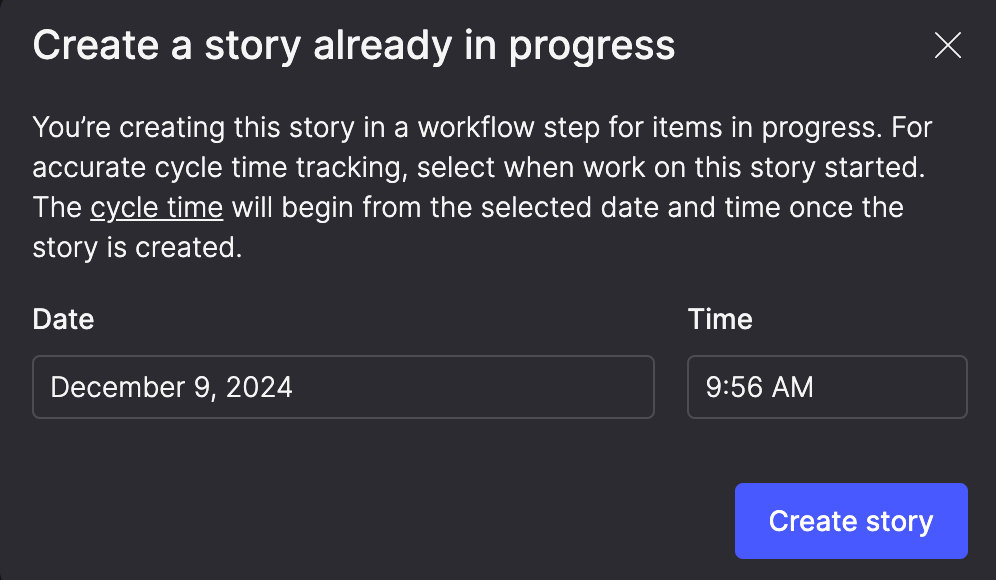
Create an item in progress
If work starts before an item is added to a team’s In progress page, you can create it directly in the appropriate workflow step and record when work began. This ensures cycle time reflects when the work actually started. This helps maintain reliable metrics for planning and process improvement.
For teams with backlog management enabled, only the team's backlog owners can create new stories in progress. Team members won't have permission to perform this action.
- Create a new story or bug in an in progress workflow step.
- In the Create an item already in progress dialog, specify the Date and Time work on the item began.
- Click Create story or Create bug to create the item.
The cycle time for the story or bug will begin from the selected date and time once the item is created.
Assign items to a different team
Reassigning items ensures the right team owns the work. Move stories or bugs to another team's backlog when responsibilities change or another team is better equipped to handle them.
If the destination team has backlog management enabled, you must have the backlog owner role on that team to assign a story to it.
- Open the item and click the team name in the side panel.
- Select a new team.
- Confirm your choice by clicking Change backlog.
Reset size estimatesWhen reassigning a story, the original team's size estimate is removed. This allows the new team resize it based on their own processes and capacity, ensuring accurate planning.
Remove items from a backlog
Unassigning items from a team helps keep its active work focused on current priorities.
- Open the item and click the team name in the side panel.
- Select No team.
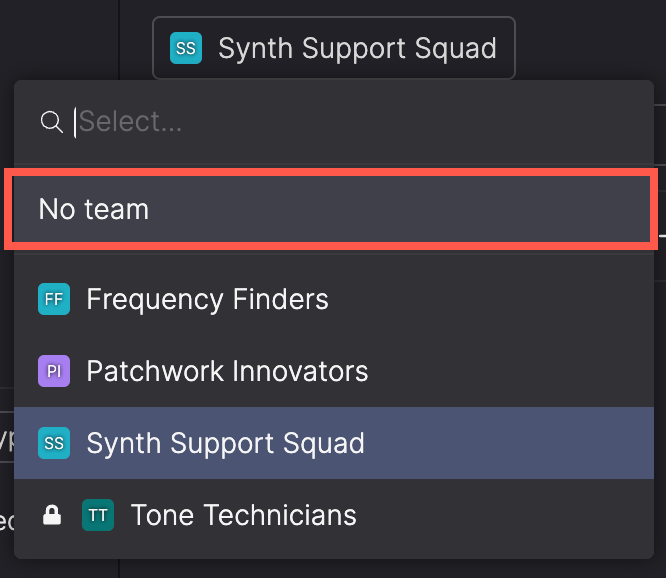
- In the Unassign from team dialog, confirm by clicking Unassign from team, or X to cancel.
Bugs unassigned to a team appear in Bug triage, while stories unassigned a team move to Story refinement. This ensures they remain visible and ready for reassignment.
If you want to permanently remove an item from the workspace, you can delete it.
Updated 2 months ago